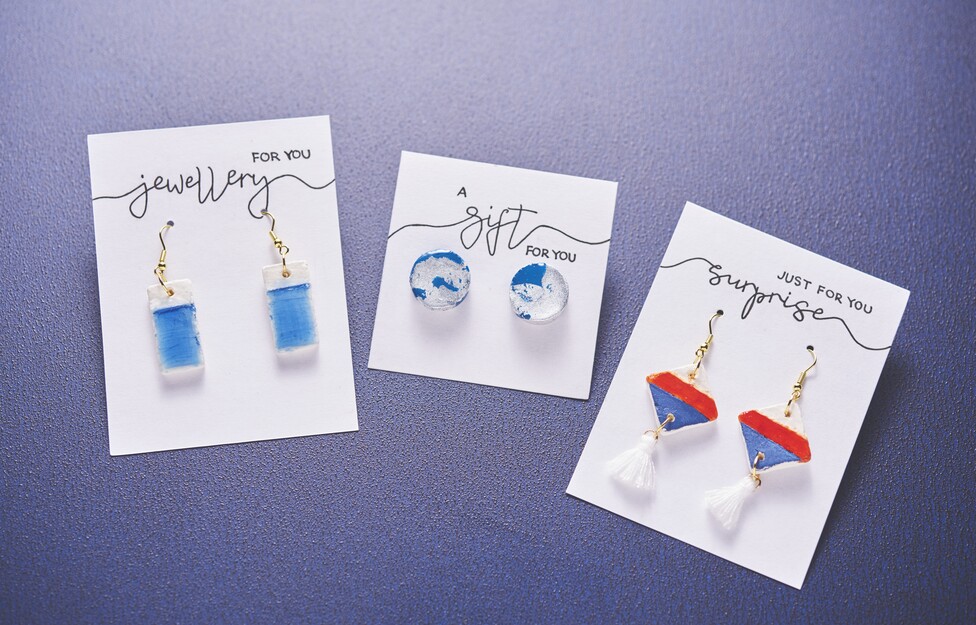
This is how you design the earrings:
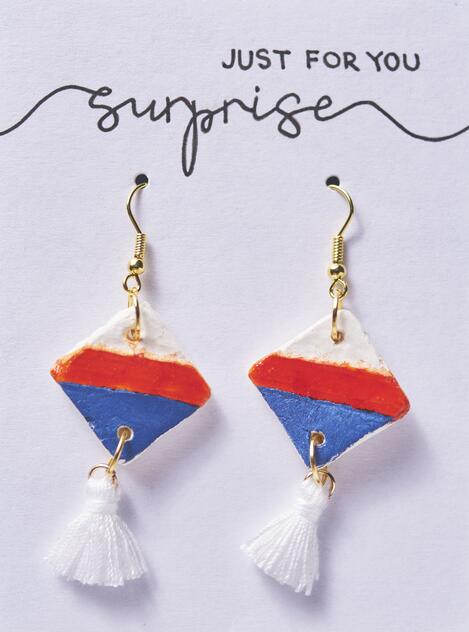
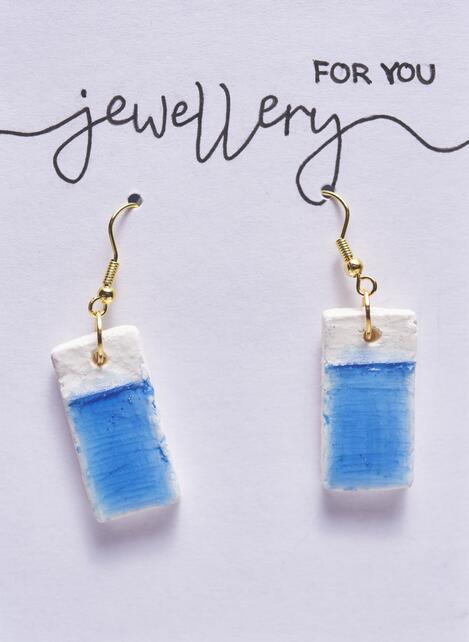
Roll the Modelling clay at first as thin as you want your jewellery to be later. Now you can cut out shapes or cut out your own shapes with a knife. For the earrings, make a small hole in the top of your form. If you want to hang up tassels or similar, make a hole in the bottom of the form. Ear hole stud Press it into the still wet one so Modelling clay, that the tip of the plug still only sticks out. Now let your moulds dry for about 24 hours
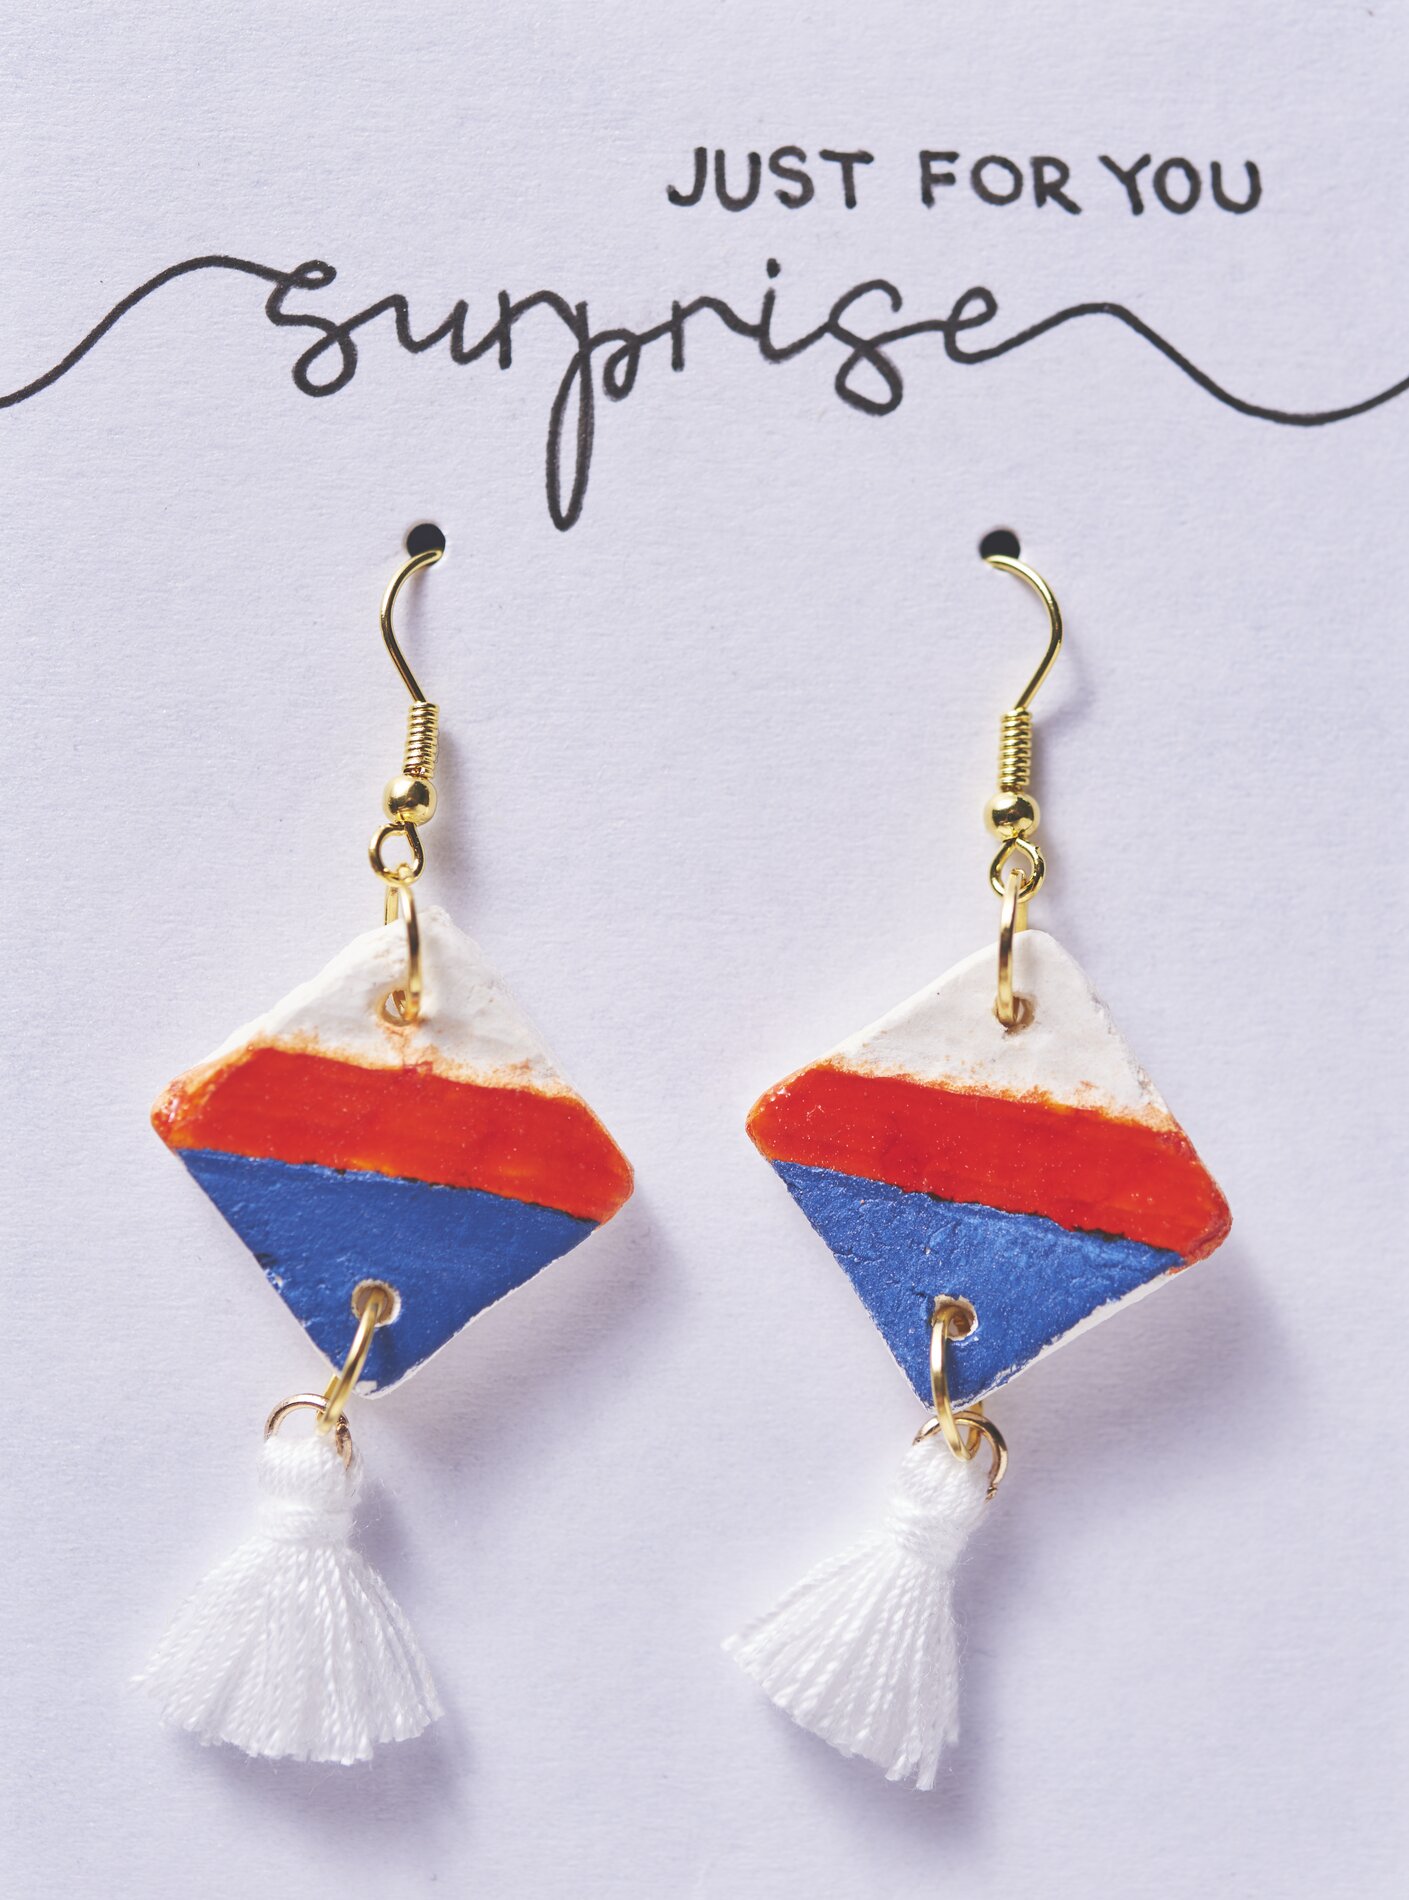
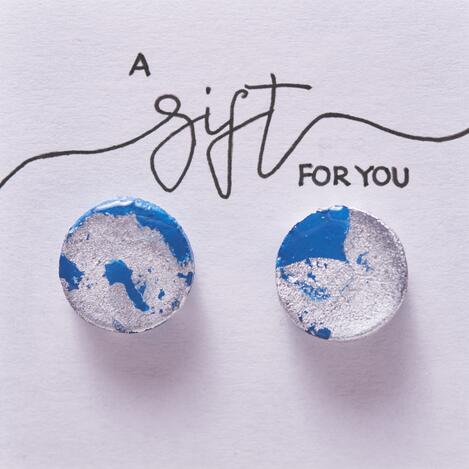
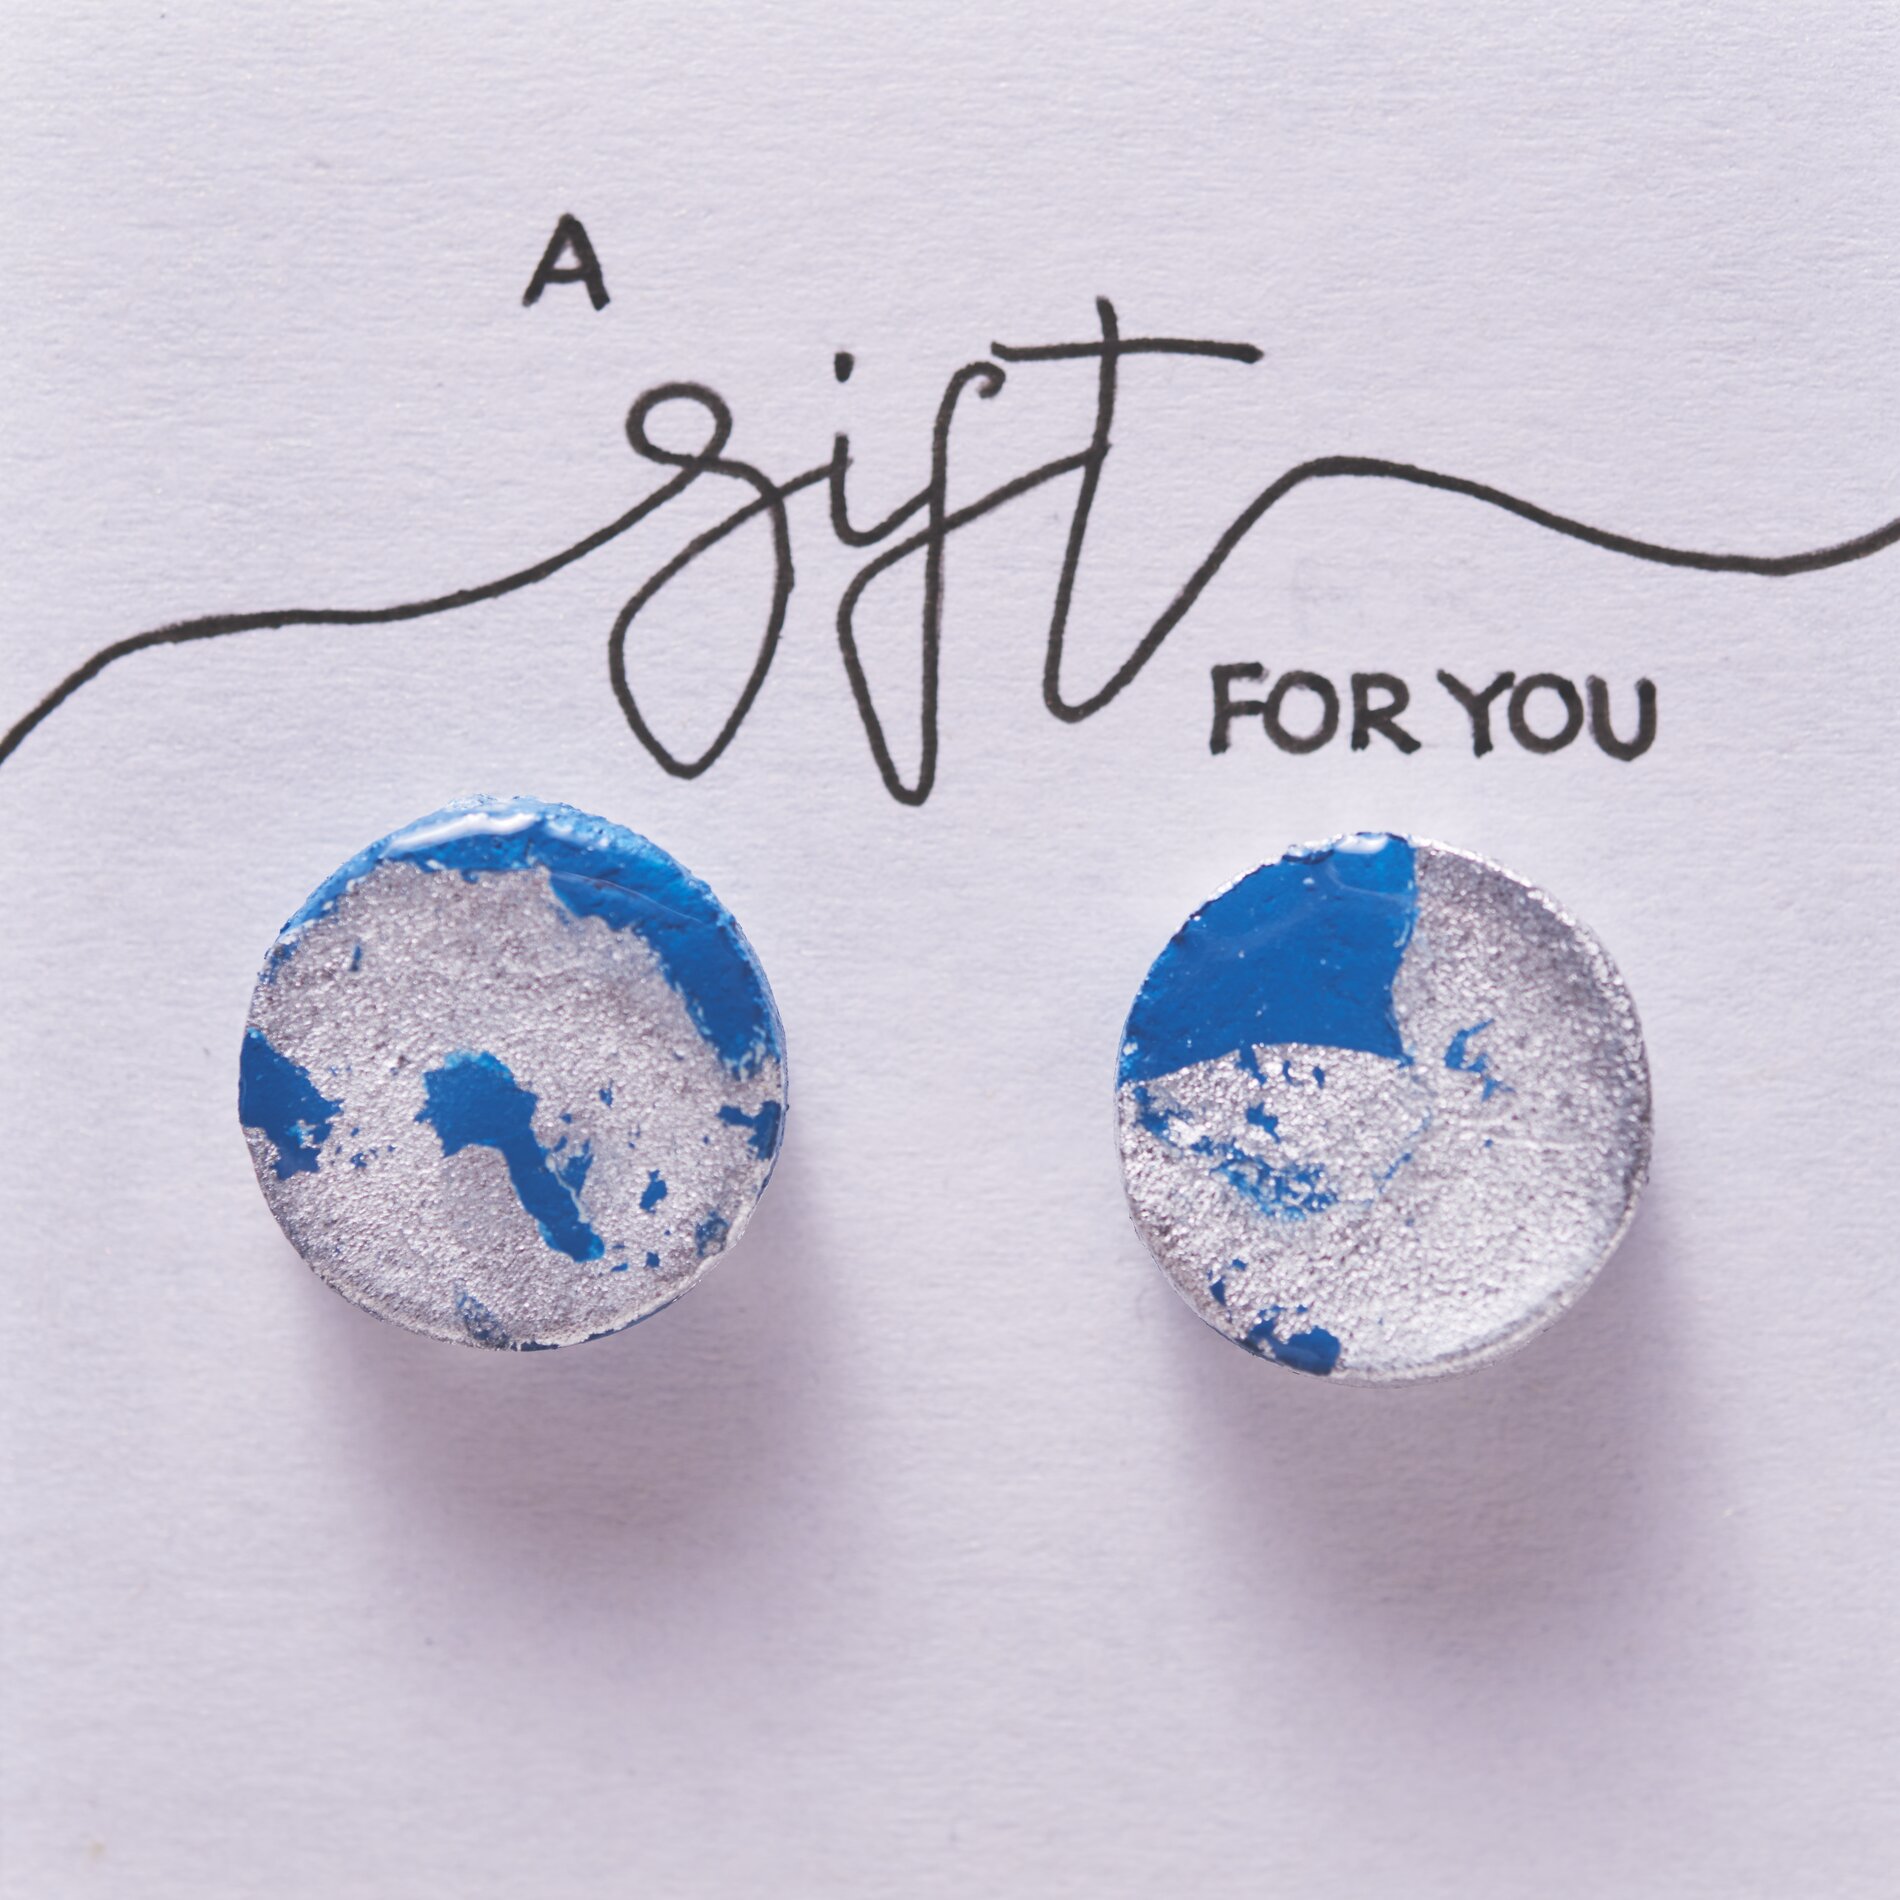
After drying, you can design the surfaces in your desired handicraft colours and additionally apply Leaf metal decorate. To do this, you paint the desired areas and Gold leaf priming milk place the best thing Leaf metal. to do is to remove the thin metal leaves with a brush and apply them to the place of the piece of jewellery
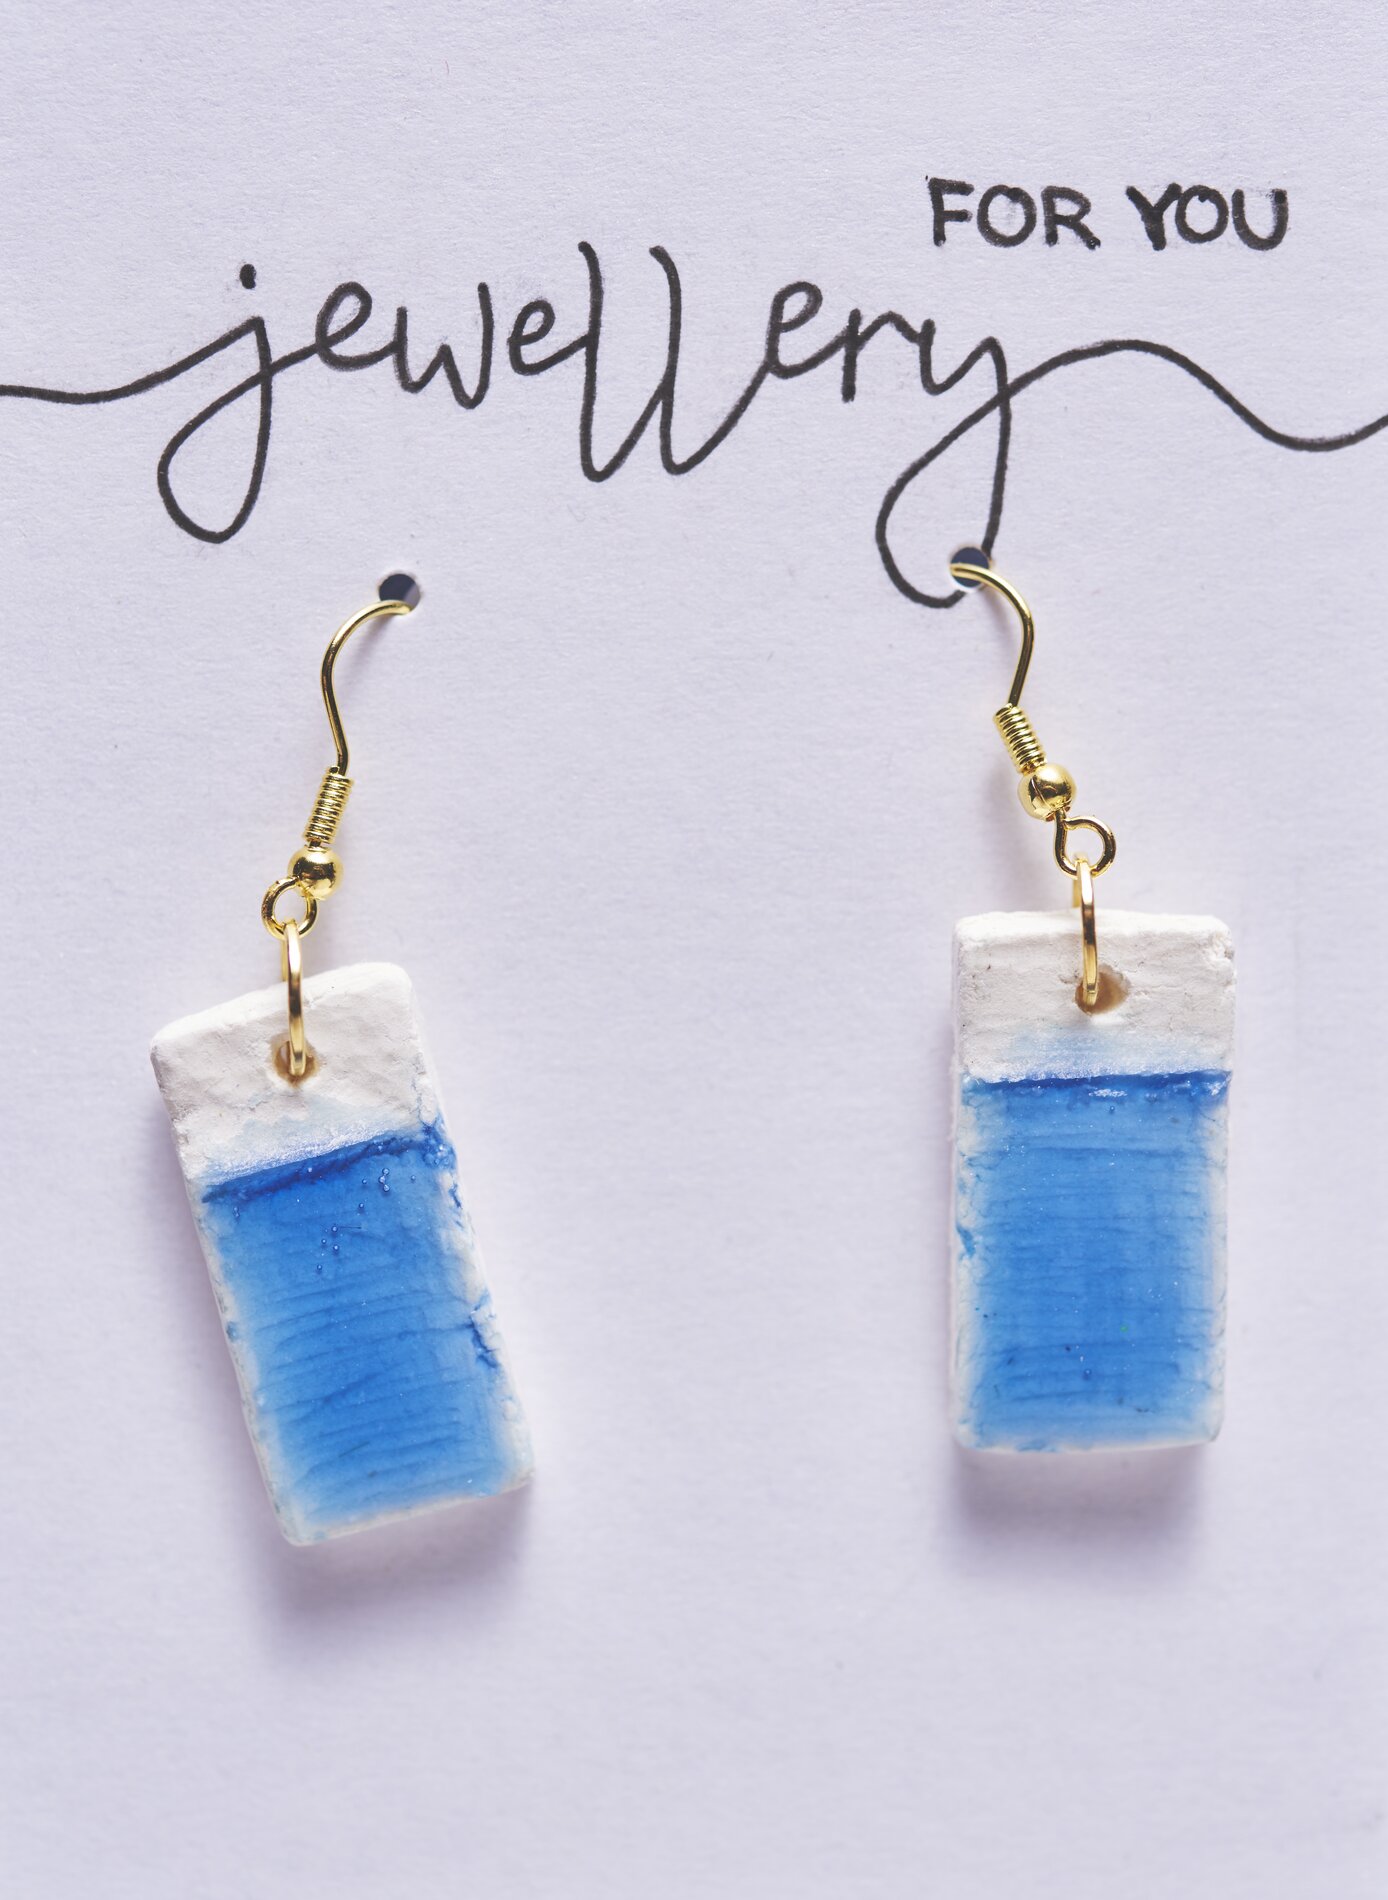
For our earrings we have refined the surface with cold glaze. To do this, scratch the surfaces with cold glaze slightly beforehand so that the resin does not run so easily. If it does run, it can be sanded off after the drying time. We have also coloured the cold glaze with a little tinting paint before we poured it over the jewellery. Stir the cold glaze according to the package instructions and pour it in the middle of the earrings. The glaze will run all the way to the edge by itself. But you can also use a brush to lightly touch up the glaze. After drying, a transparent, especially scratch and abrasion resistant surface is created, which has a unique depth effect and looks like enamel.
Finally, you can now attach the earrings, tassels, beads and decorations you want
You would like to sell or give away the jewellery? No problem! Simply cut out rectangles from cardboard and make two holes at the top where you can hang or put the earrings. With a Marker you can write a nice greeting using the handlettering technique.