Print out the free Pattern one and place the pattern on the
fabric. Cut it with about 1 cm seam allowance. Cut two pieces of fabric - an outer fabric and a lining fabric (in our example a plain fabric). Optionally, you can also cut a fleece to give the bag more support. Then iron this onto the left side of your lining.
Place your lining and outer fabric right sides together (the beautiful sides are on the inside) flush with each other and place the zipper
on the short side, with the slider facing down, in between. Stitch along the teeth with the zipper foot. Your three parts are now sewn together.
Repeat the procedure on the opposite side as well. The zipper is again flush between the outer fabric and the lining as described above
Now fold the bag so that the zipper is in the middle. Sew the short side together on the side of the closed zipper. Then you can shorten the zipper and trim the edge with a zigzag stitch
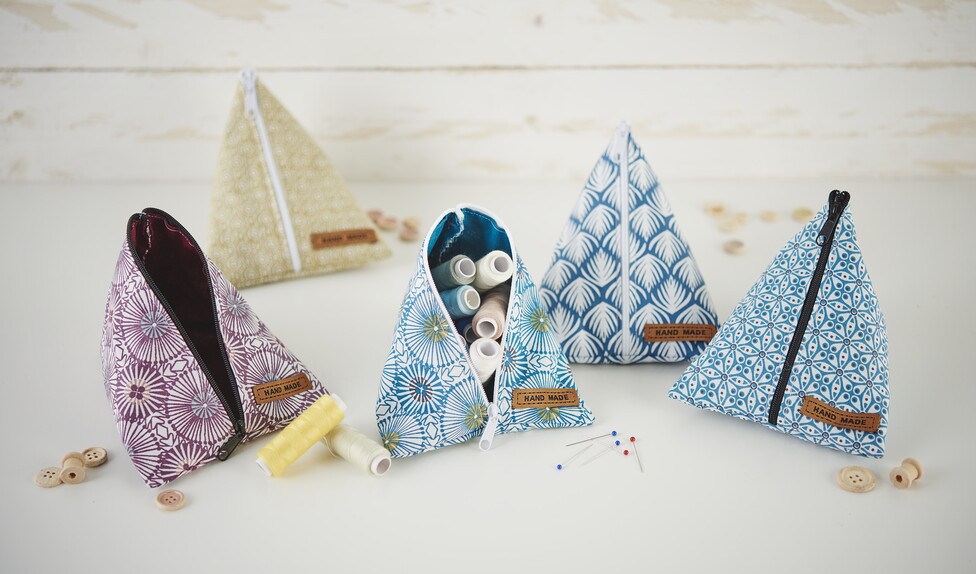
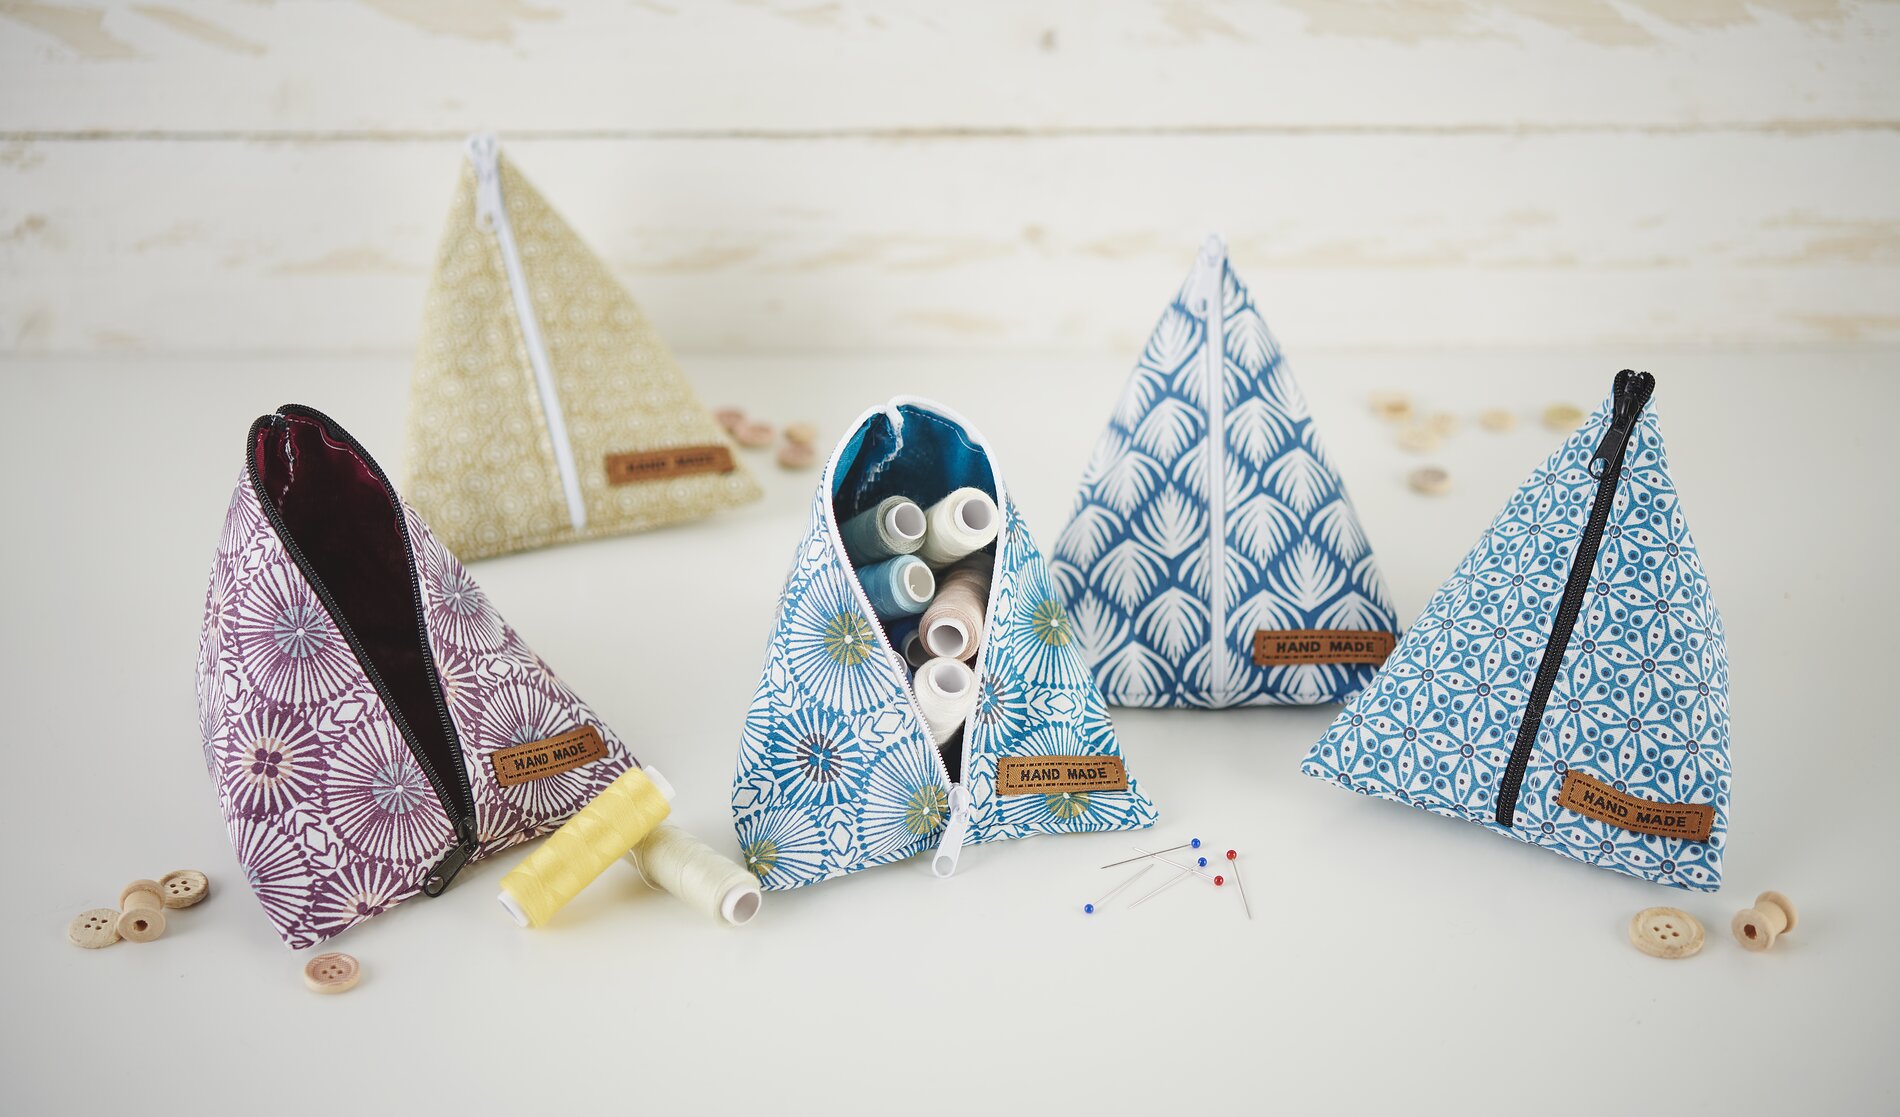
Now you put the bag into a triangle and sew the still open side together. Again, shorten the zipper and trim the edge with a zigzag stitch. Finally turn the bag,
sew on the label and your unique piece is ready!