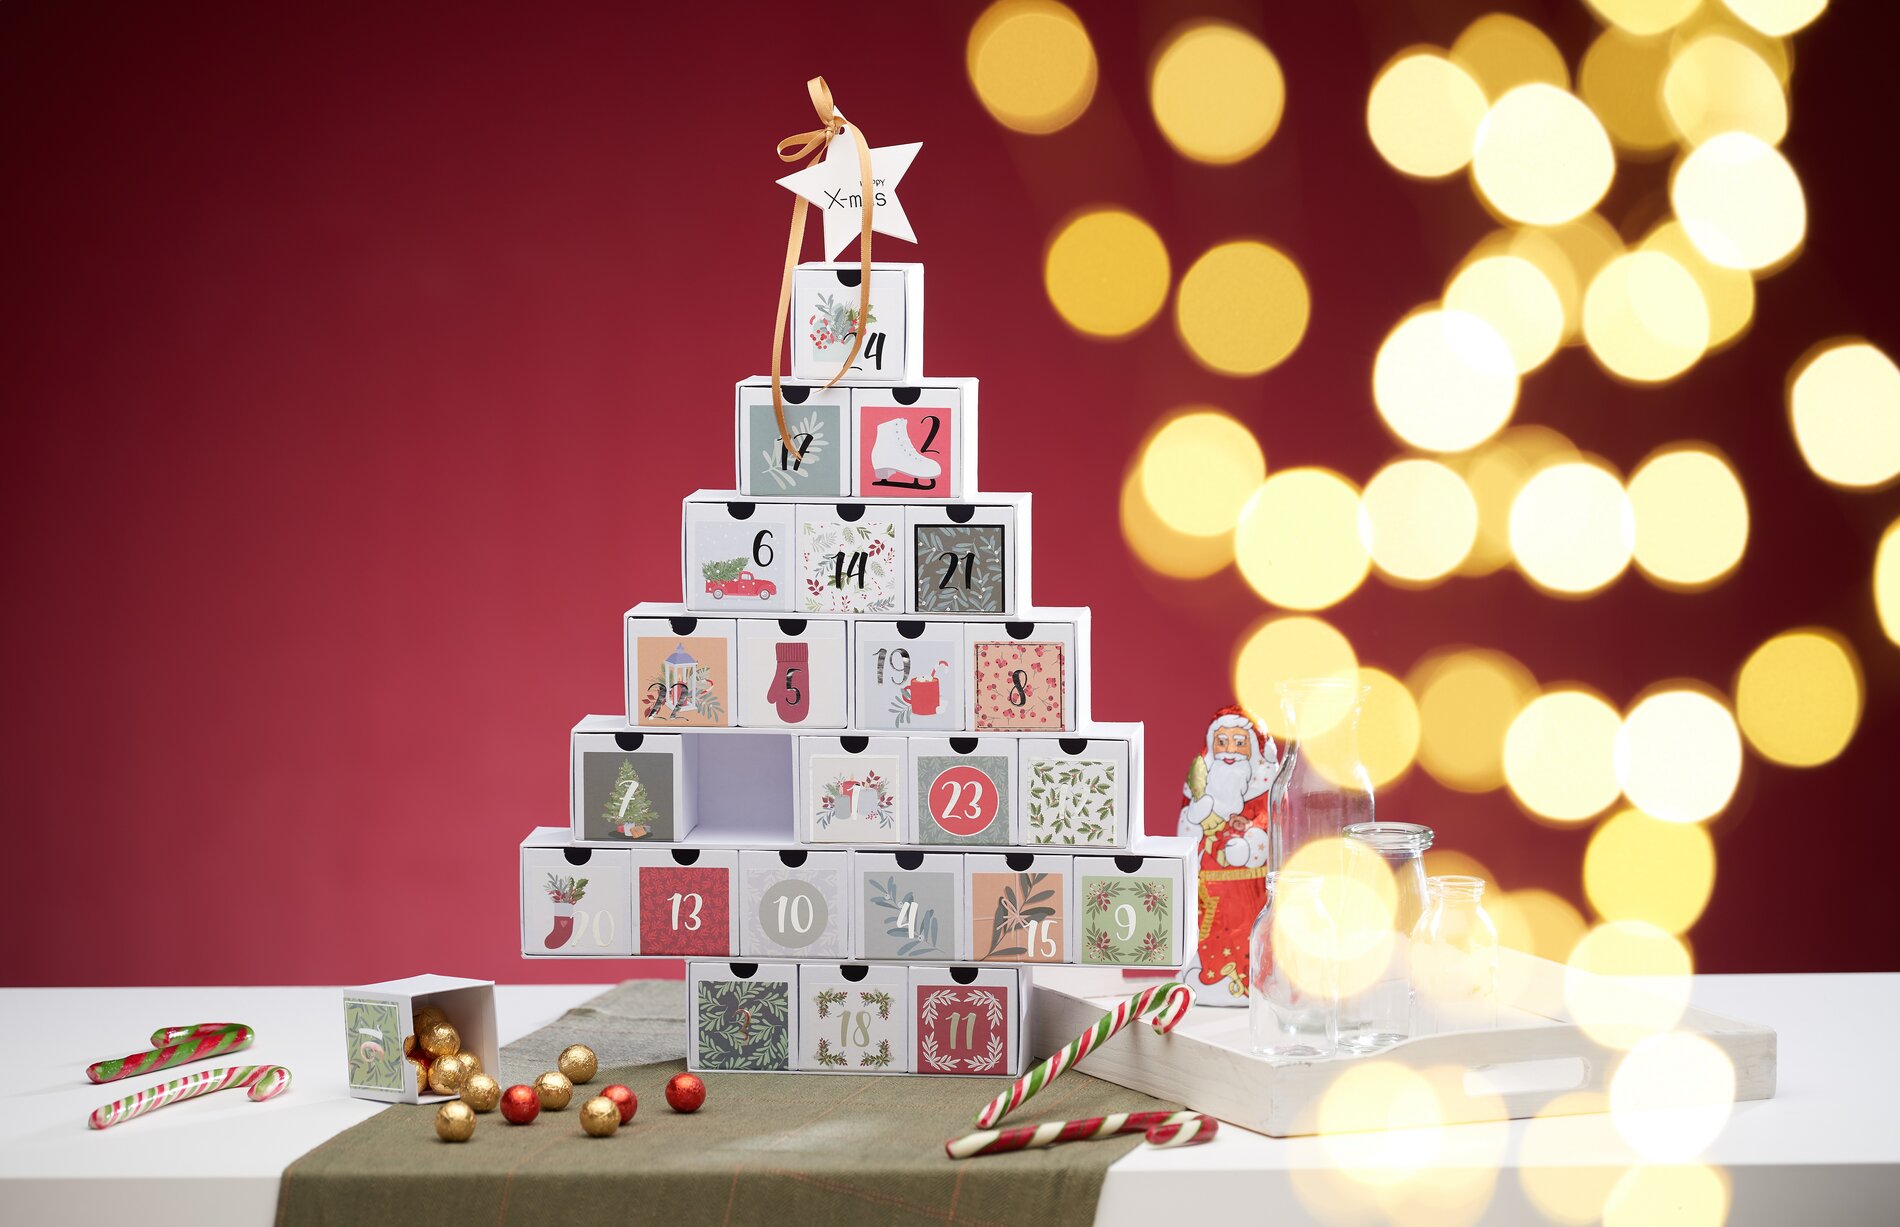
Making and decorating advent calendars
Step 1: Decorate the Christmas tree
Now it's time to get creative and decorate the individual compartments of the Christmas tree. Start by choosing the Christmas stickers that you want to decorate your advent calendar with. Stickers are available in many different designs - from snowflakes to little Father Christmases. Stick the stickers carefully onto the individual compartments. To achieve a harmonious overall look, make sure that you decorate each area evenly.
Step 2: Labelling the stars
Now take one of the stars and label it. You can draw small messages or pictures on the stars that will delight your loved ones. We have opted for the lettering Merry X-Mas.
Step 3: Stick the stick between the stars
Take a round or bamboo stick and position it between two glued stars. Use a strong adhesive to fix the stick securely between the stars. Make sure that the stick is centred and well attached so that the star hangs stably on the tree later.
Step 4: Tie the satin ribbon as a bow
Now comes the decorative part: tie a satin ribbon into a pretty bow around the stick. The satin ribbon gives your advent calendar an elegant touch. Choose colours such as red, green or gold for a particularly festive look.
Step 5: Glue the stars onto the fir tree
Finally, stick the finished stars to the small Christmas tree. Your homemade advent calendar will be a real eye-catcher in your home.
Get creative and order now!
Are you ready to make your very own personalised advent calendar? Visit our online shop now and discover a large selection of stickers, satin ribbons and other craft materials. Let your creativity run wild and turn the run-up to Christmas into a magical time full of joy and surprises!