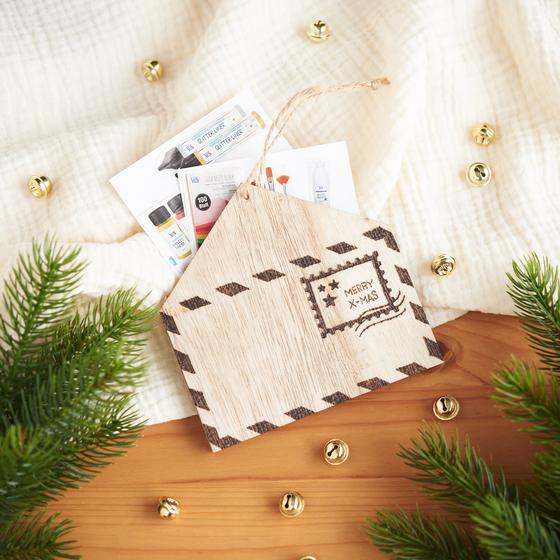
Step 1: To design your wooden envelope, start by looking for a suitable motif or text. You can print any text or image from the internet. Alternatively, you can also create your own sketch with a pencil. Make sure that the lines are clear and distinct to achieve the best result later on.
Step 2: Take a piece of graphite paper and place it graphite side down on the wooden envelope. Then place your chosen motif or text on it. Carefully trace the design onto the wood using a lace pen or pencil. The graphite paper works like old-fashioned carbon paper here - it transfers what you draw as a copy onto the surface underneath.
Step 3: For those who want to get creative, freehand drawing is a great option. Draw your design directly onto the wooden envelope with a pencil. Be patient and precise when drawing to achieve a successful result. You can practise in advance on a piece of paper to gain more confidence.
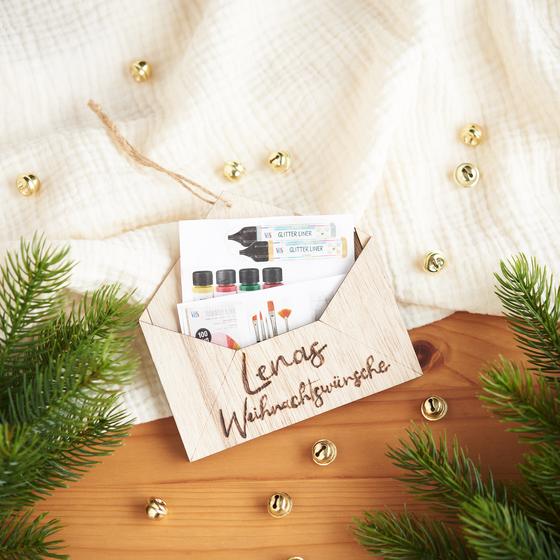
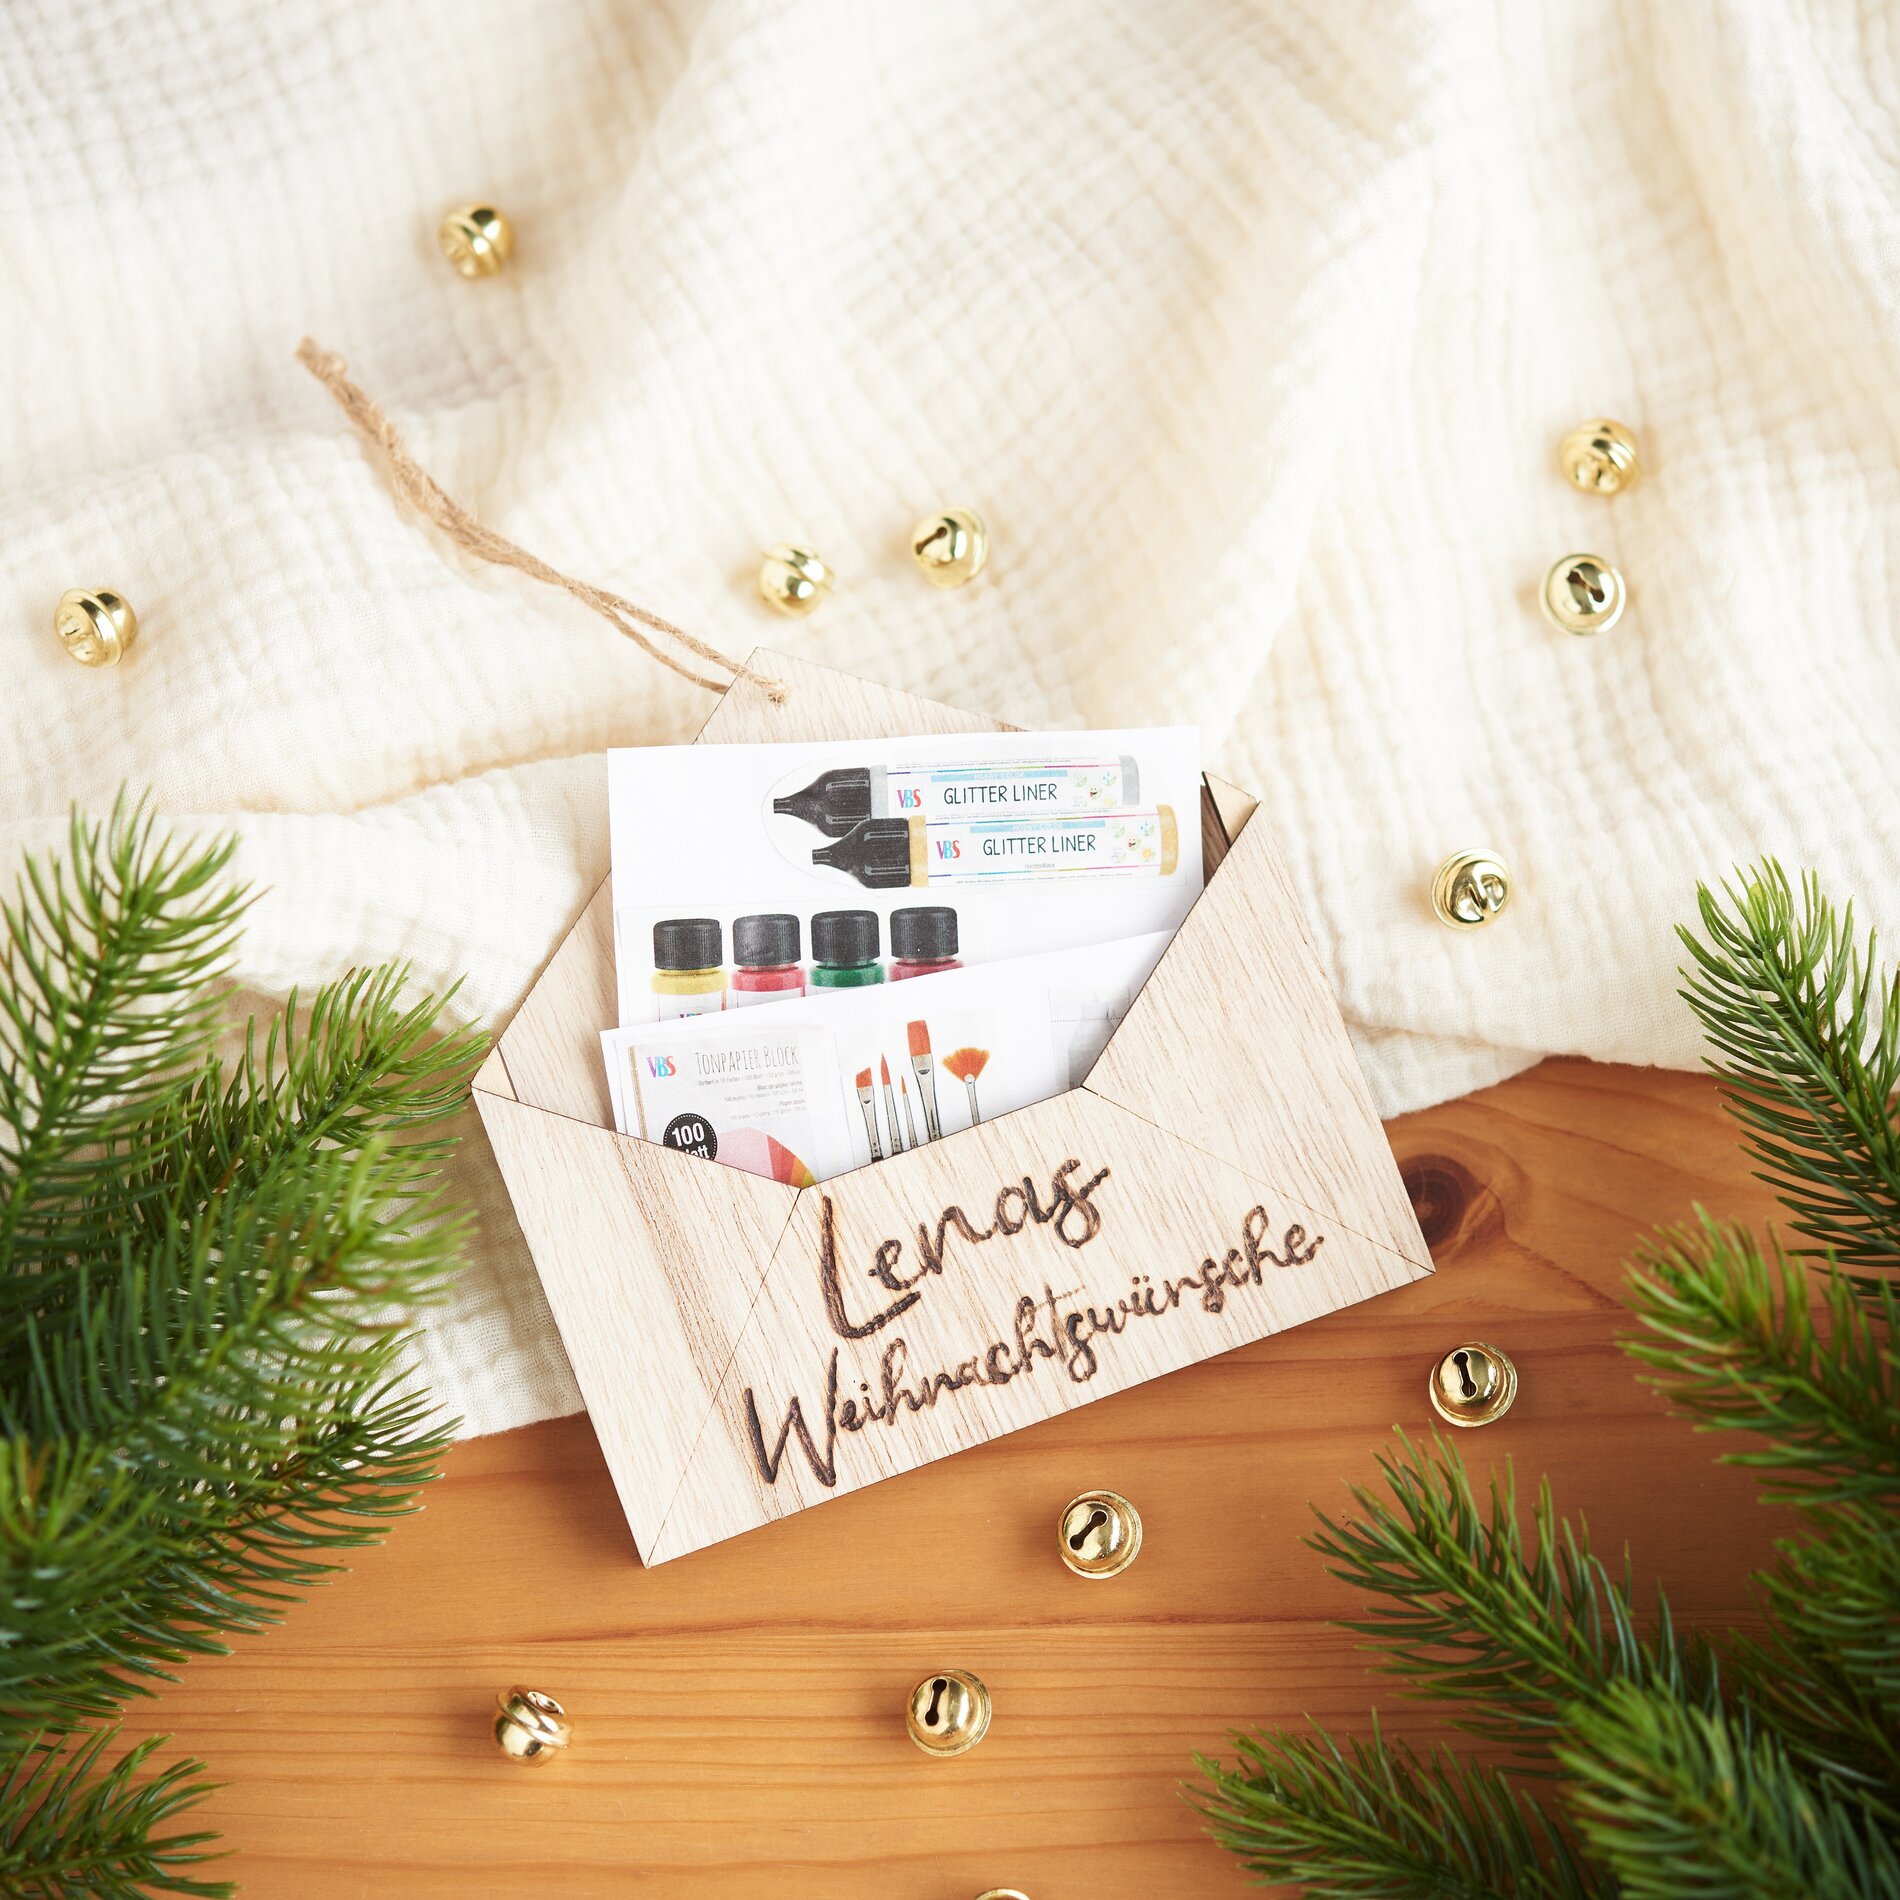
Step 4: First, heat up the branding pen, a special tool that works like a soldering iron and allows you to burn designs into the wood. Make sure that the pen is sufficiently heated before you start tracing the lines. Slow and steady movements lead to the best results. Work with light pressure to ensure that the lines are burnt in evenly. Branding, also known as pyrography, gives the wood a warm, rustic look and makes each piece unique.