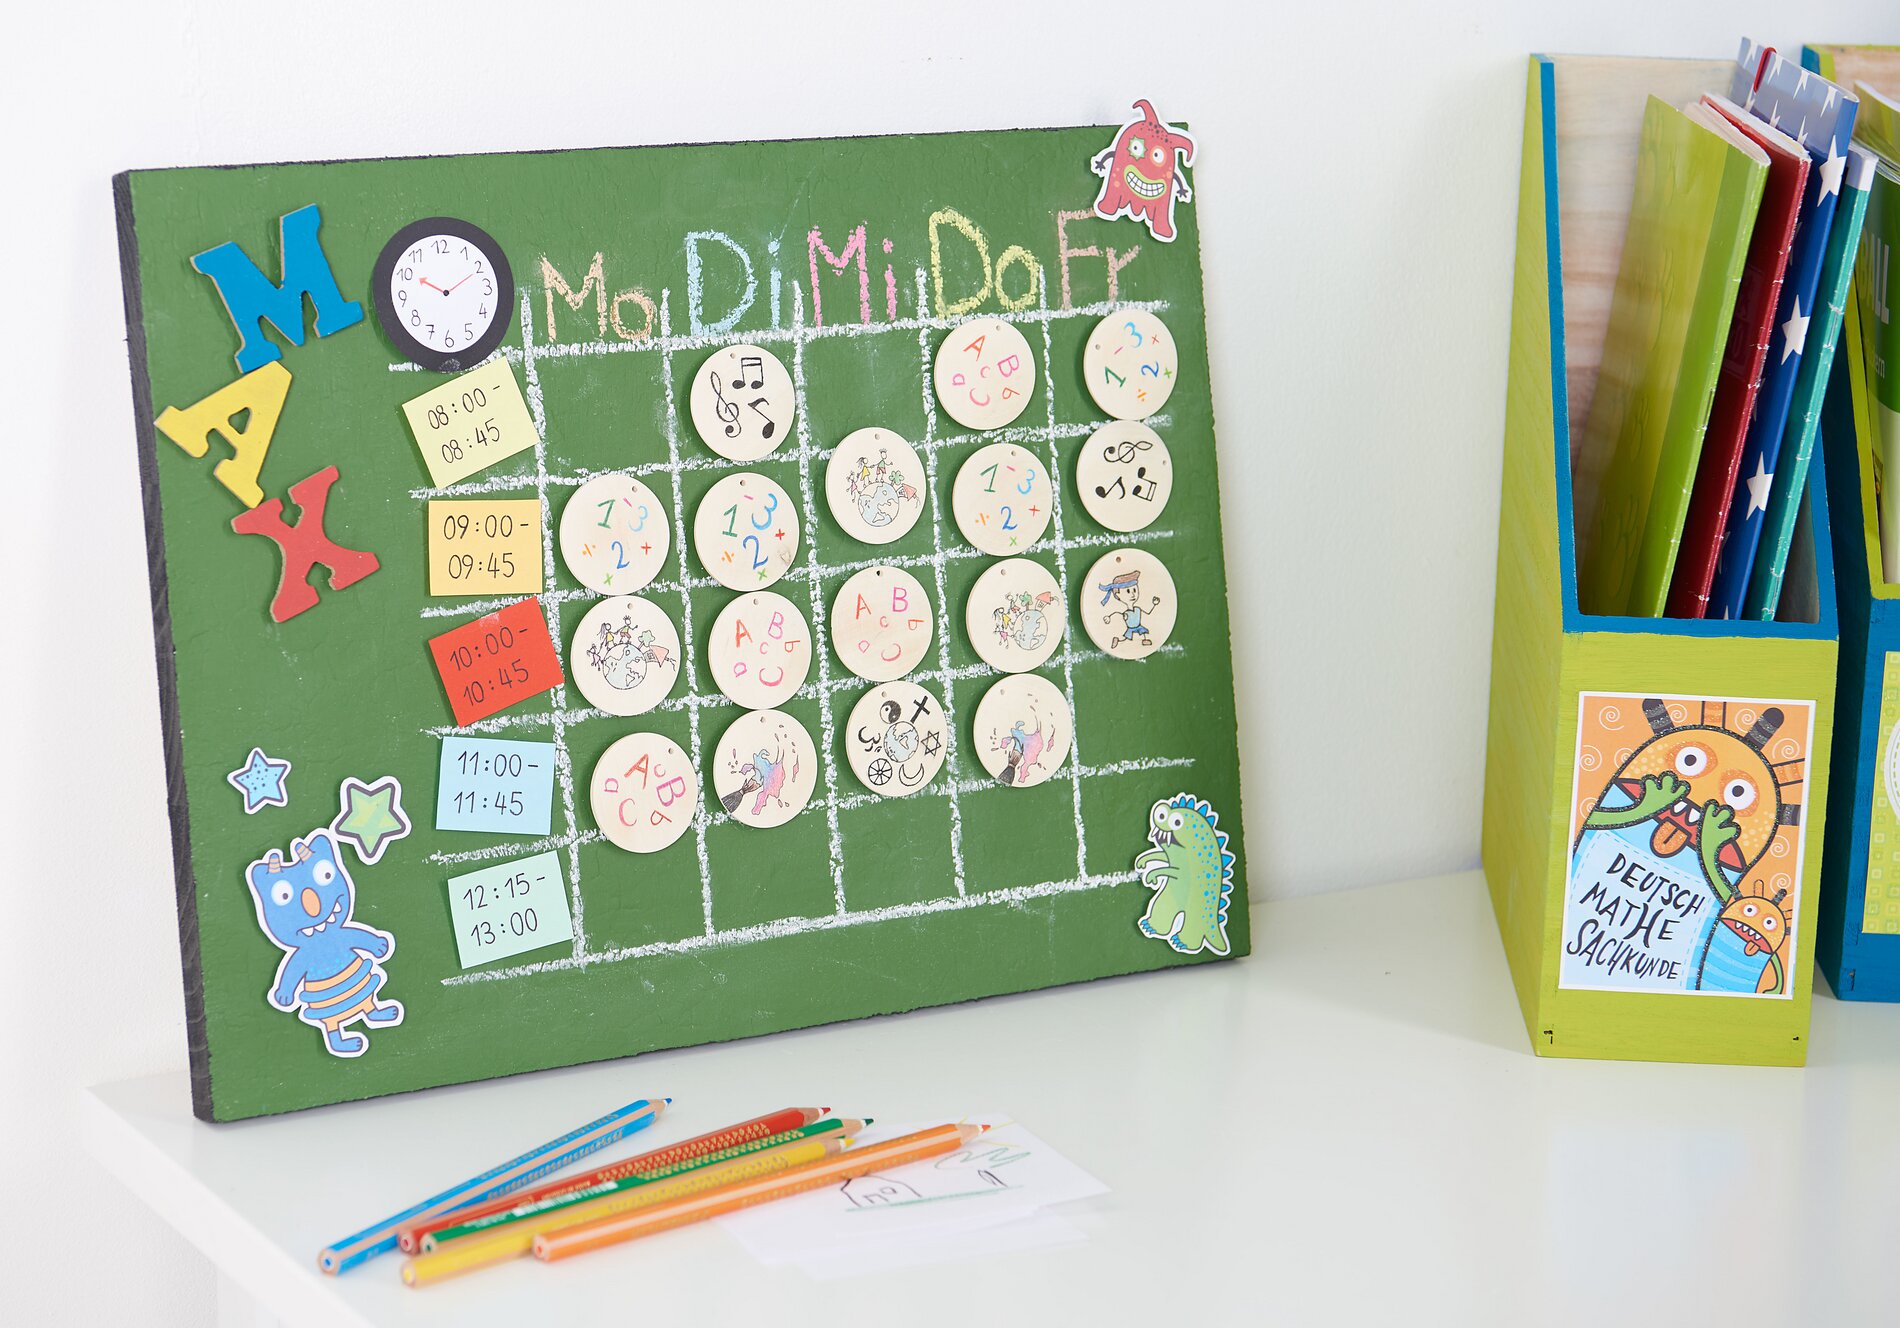
The self-designed
timetable is just the right thing for your
school child. It can even be understood without reading.
Comprehensible pictures show the child which
lessons are scheduled .
Coat a
glued wood panel with
Magnetic paint and let them dry well. Repeat this procedure five times.
Then apply three layers one after the other
Board paint onto the glued wood panel. In between always let the Board paint dry.
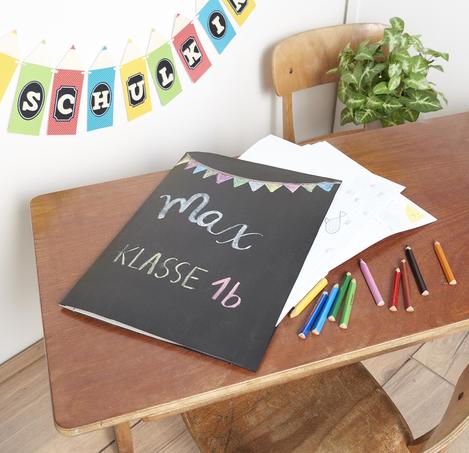
For the name of the schoolchild, draw the
letters of his name with
Handicraft paint in your desired colours. For the other decorations, such as the monsters, cut
the desired motifs from the scrapbooking block
With white board chalk you paint a
hour slice on the dried board. From the
notepad you take six pieces of paper in different colours. Draw a
clock on one note and cut it out, cut the remaining notes to size so that they fit into the grid of the timetable. Add the
times of the lessons to the notes.
Use
coloured chalk to enter the
days of the week in the grid at the top.
Now the
school subjects are created
as magnets. Draw symbols for the respective school subjects with Aquarelle crayons and fineliners
Wooden discs. In our example, we have drawn music and musical notes for the subject music, we have used numbers for arithmetic and math, different religious symbols for religion, a brush with splashes of paint for art, a globe for expertise and a runner for sport. There are no limits to your imagination. Your child will understand the timetable without being able to read it himself.
Finally, glue
magnets with
Handicraft glue behind the Wooden discs, notepads, monsters and letters. After drying, you can attach everything to the timetable.
Extra tips
Tip 1: Do you want to hang the timetable on the wall? Simply staple Jute ribbon to the back of the wall and you can easily hang the timetable up.
Tip 2: Would you like to hang your child's timetable on the refrigerator? Then simply use our Blackboard film instead of the plate! You can attach it to your refrigerator with magnets.
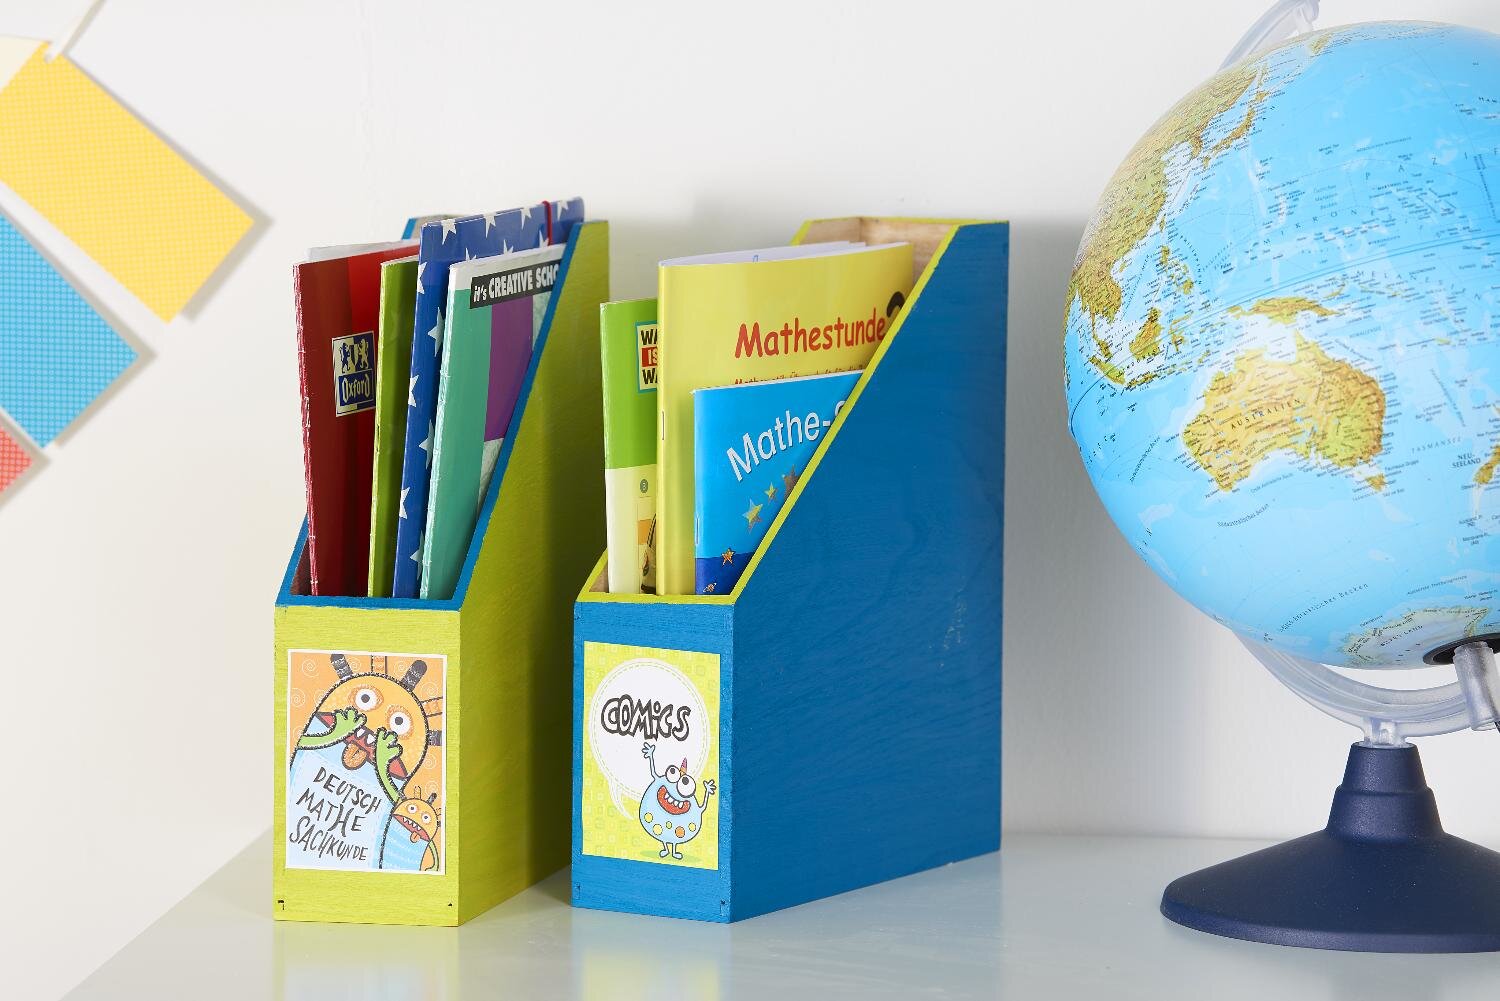
Design practical magazine racks