Here's how it works:
Place the desired napkin motif on the
largest pillar candle and cut the motif to the dimensions of the candle. Spray the candle
with the spray glue, because the ground is very slippery and the Napkins-Potch is very liquid. Carefully loosen the top layer of the Napkin and apply the motif
carefully to the candle with the
Napkins-Potch. Use the Napkins-brush for this, it minimizes the risk of wrinkles and cracks in the motif. Repeat these steps for the smallest pillar candle and let it dry
Cut out some star motifs from the Napkin , take the upper layer and glue it with the VBS Napkin varnish on the photo cardboard. How many you make is entirely up to you, they serve as decoration. While the napkin technique motifs are drying, take the
middle pillar candle and the brown and gold wax plate from the set.
Adjust the wax plate to the circumference of the candle. You only need your hand warmth for the application of the wax decorations by grasping the candle and waiting a short time. Take a star from photo cardboard as a pattern, place it on the brownish wax plate and cut out the outlines. Cover the transitions of the motifs on the candles with the wax strips by placing them around the motif and also fixing them by hand. On the
smallest pillar candle you also attach the wax star. This gives a great 3 D effect.
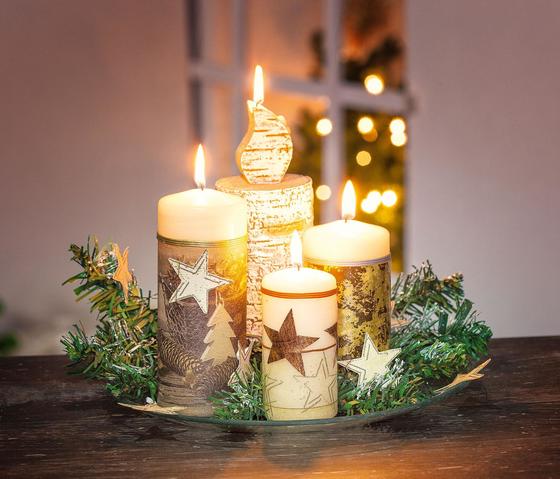
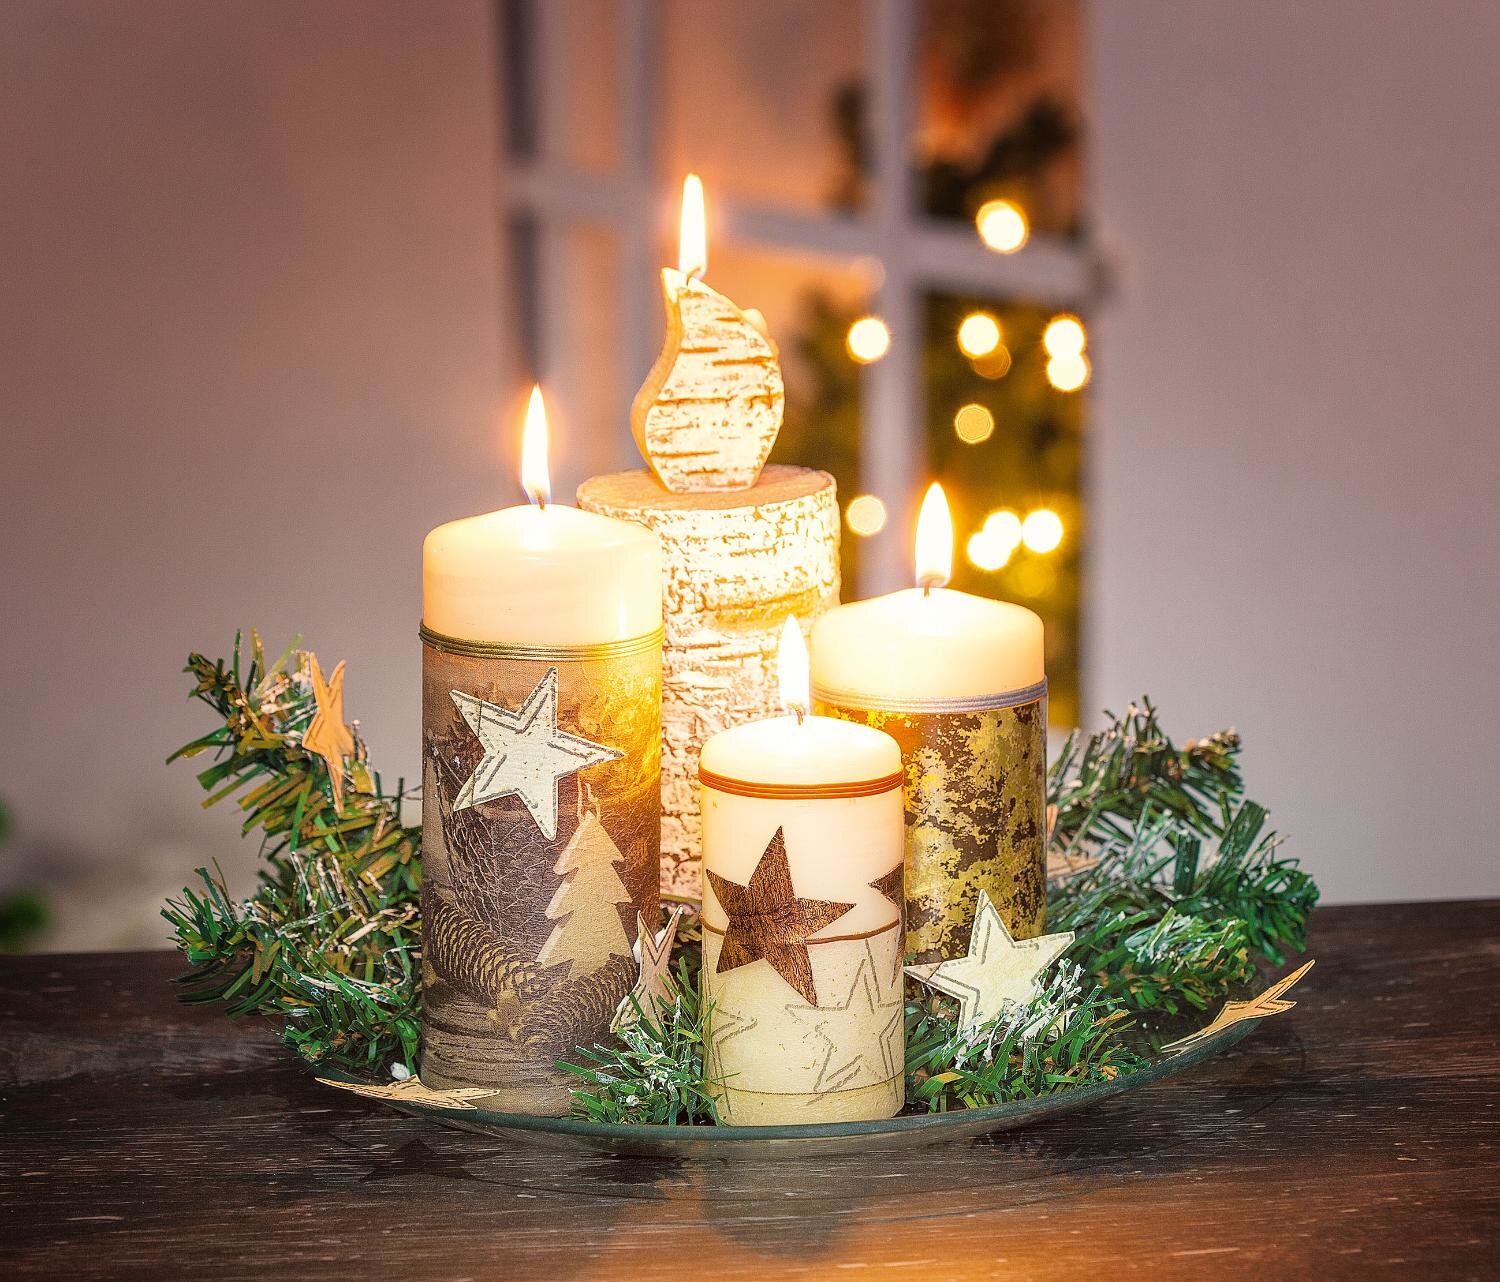
Now you arrange your works of art on the plate, decorate the Fir and the stars from Craft cardboard sheet. The candle in wood optics forms the eye-catcher here and gives the decoration a modern appearance. Attach one or more stars with the 3D Glue pads to the large candles. Thanks to the Glue pads they can be implemented depending on the burning status, so they will remain the same.

