1. Making boxes
First, make the diamond boxes from the VBS stencil set. Follow the instructions on the packaging of the set. Once all the boxes have been shaped, you can punch a hole in the lid with a hole punch and thread a pretty ribbon through it. You can use the ribbon later to loop the boxes.
2. Filling the boxes
Fill each box with little surprises. These can be chocolates, toys or personal messages - let your imagination run wild!
3. Use the scratch-off stickers
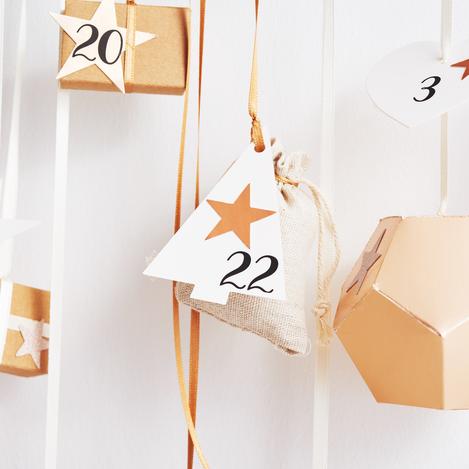
Use the scratch-off stickers to transfer the numbers from 1 to 24 onto the boxes or small gift tags. These stickers are easy to apply and give your advent calendar a personalised touch.
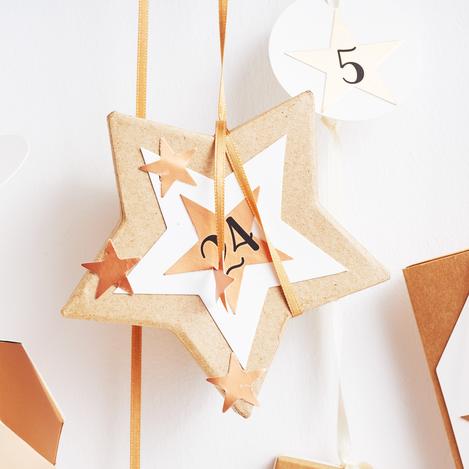
4. Decoration with craft punches
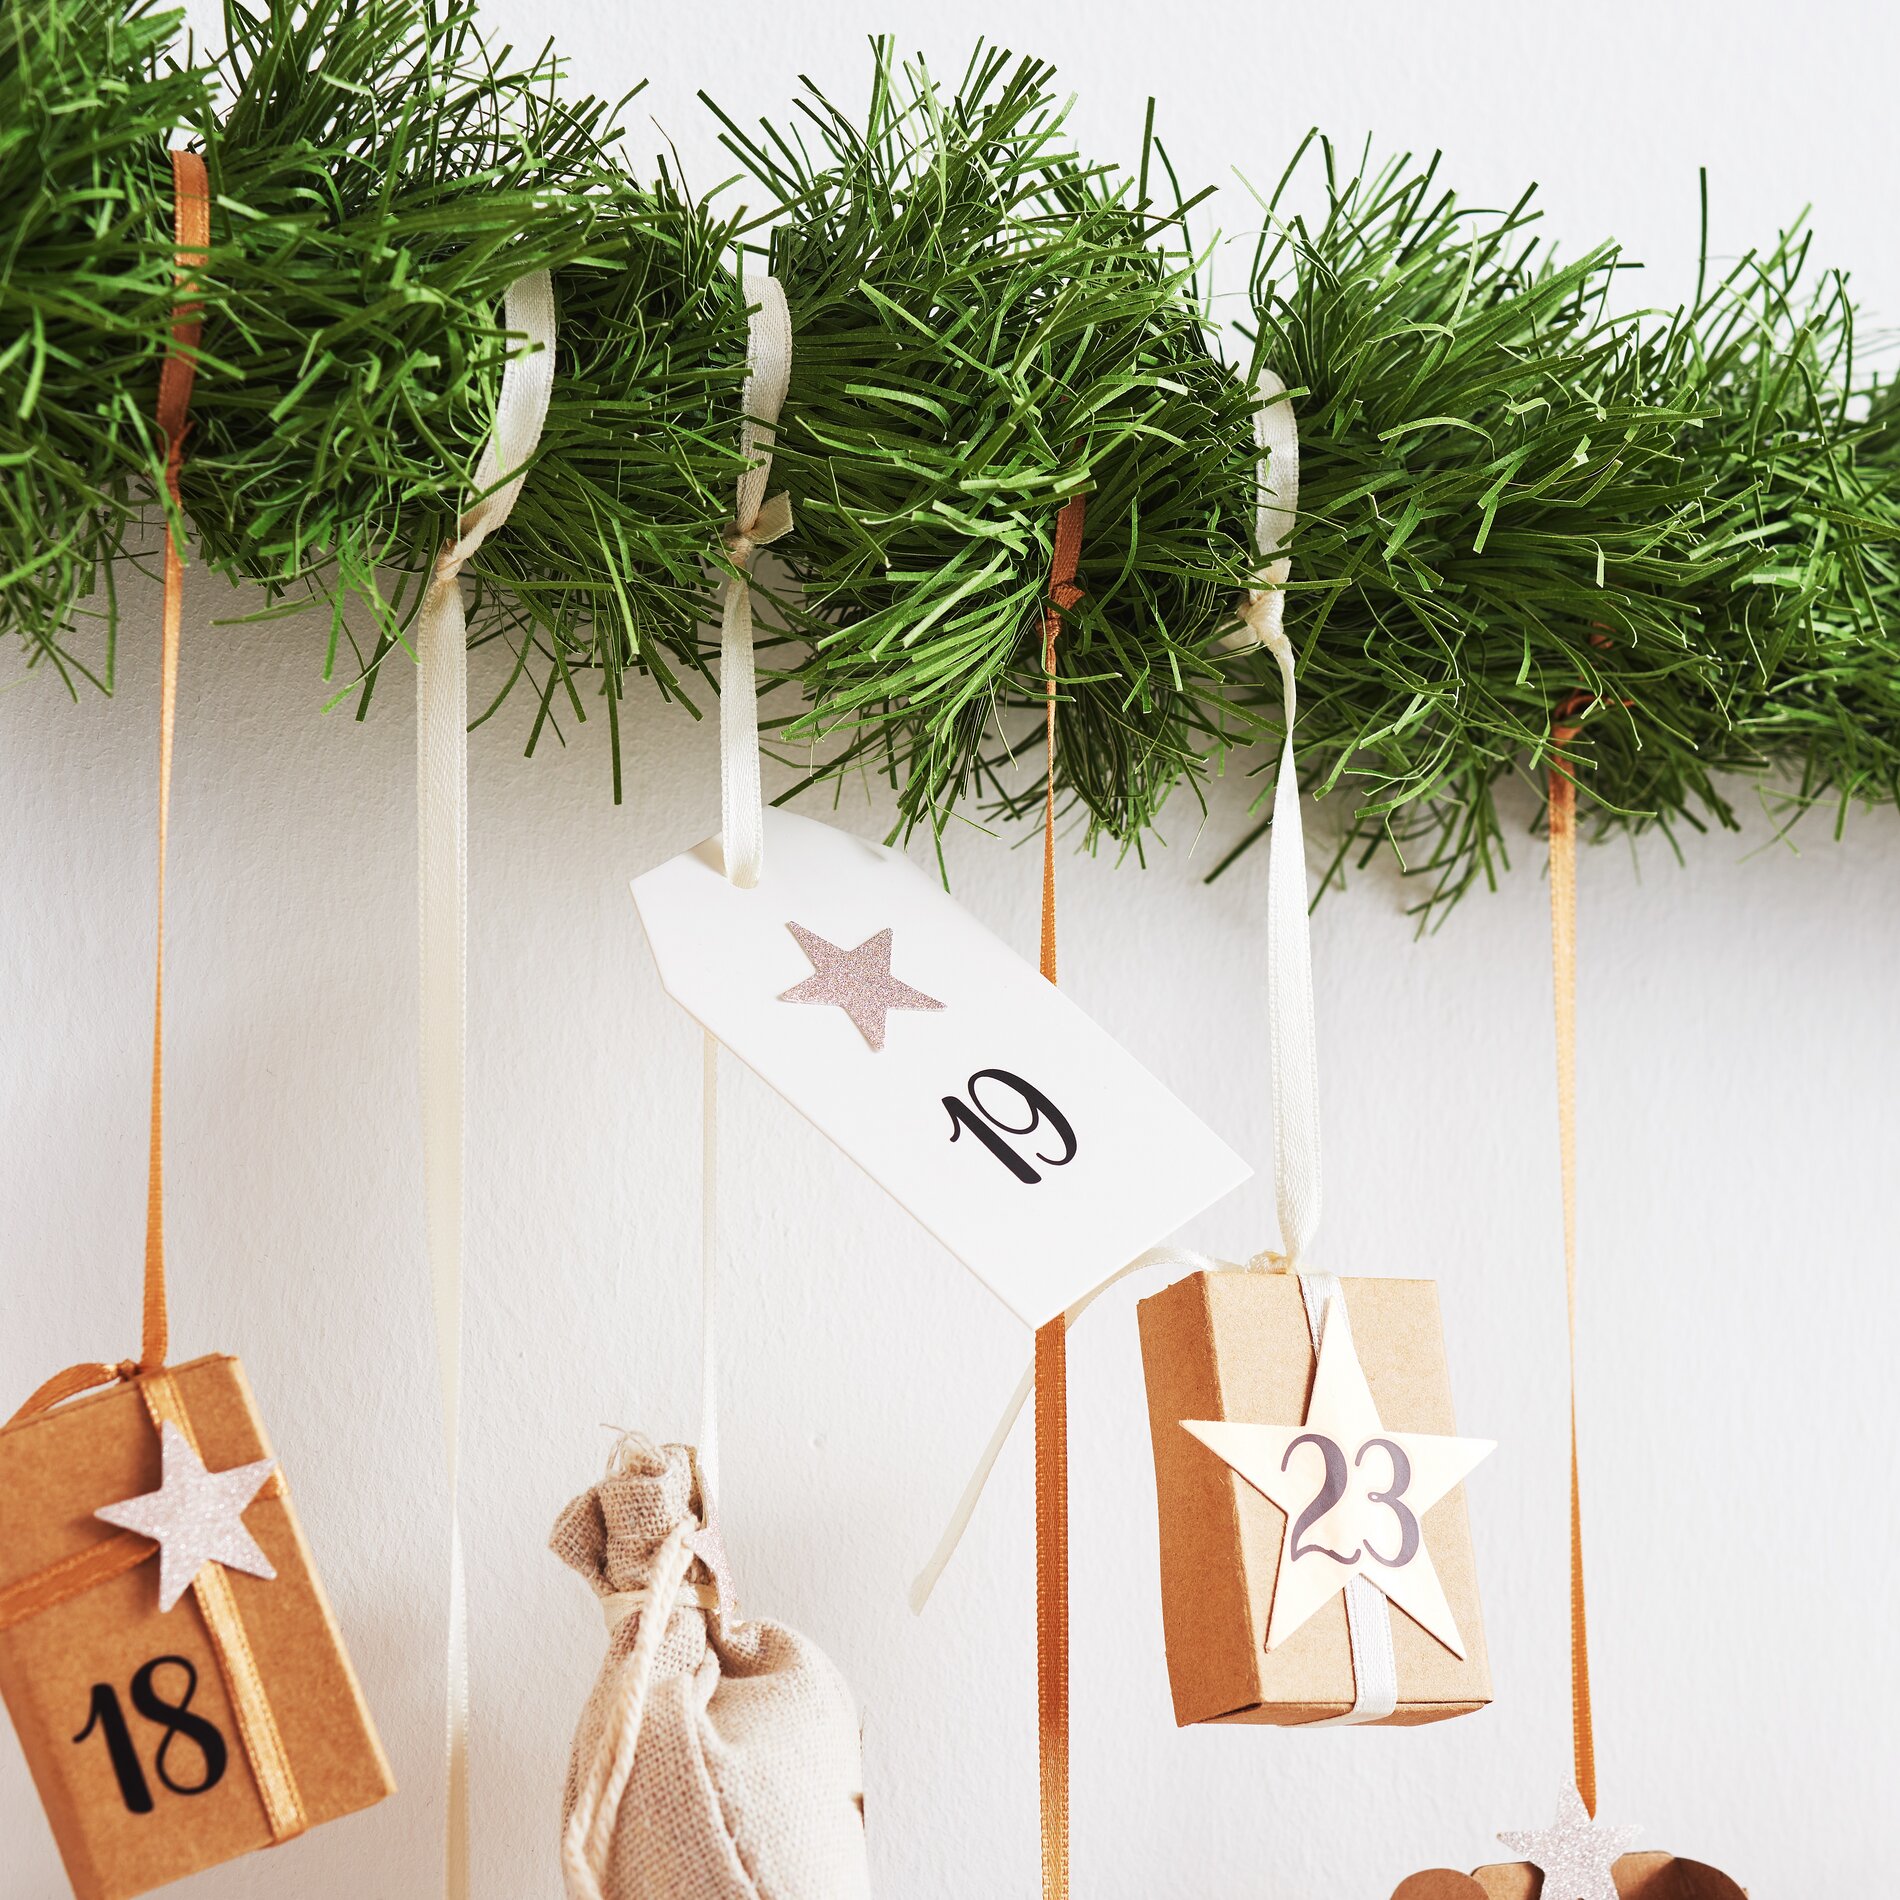
Use a craft punch to punch out stars and stick them onto the boxes, gift tags or ribbons as desired using handicraft glue. The stars will give your advent calendar a festive flair.
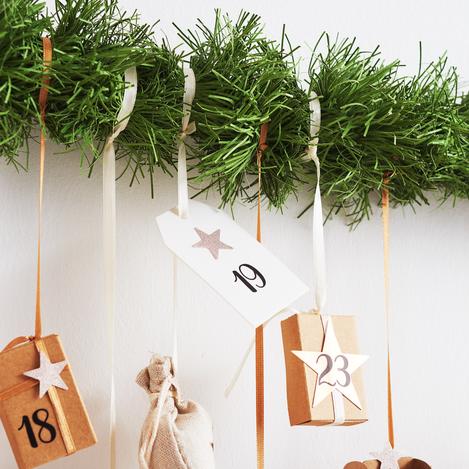
5. Paper fir garland
Take a beech round stick and wrap the paper fir garland around it. Secure the ends of the garland with a ribbon that also serves as a loop. This gives your advent calendar a rustic and Christmassy touch.
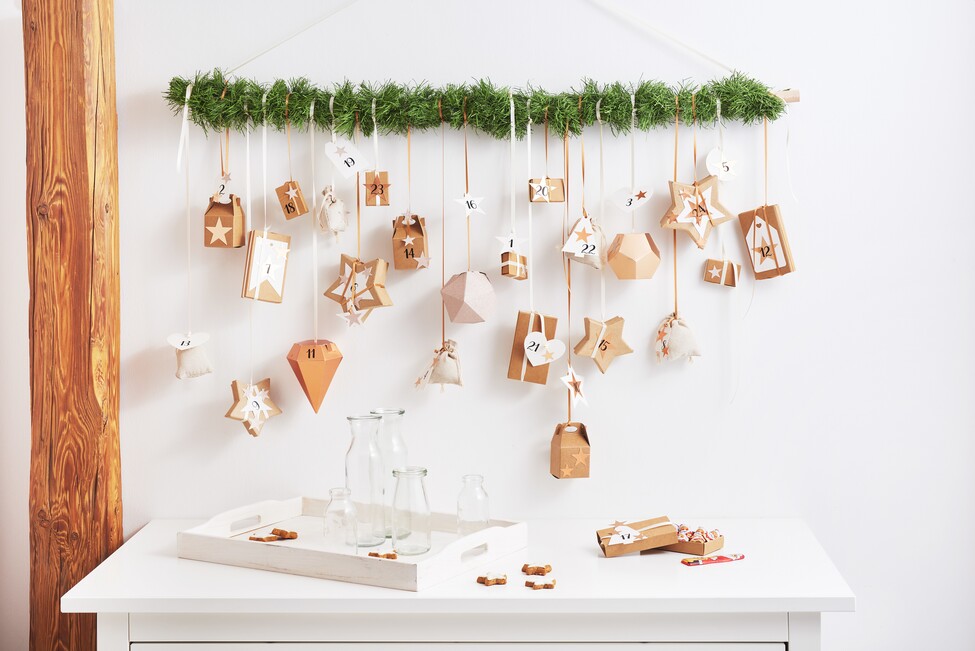
6. Loop the boxes
Finally, hang all the boxes on the paper fir garland. Arrange them so that they look nice and are easily accessible. Your homemade advent calendar is now finished and ready to brighten up the Advent season.